Scratch has revolutionized the way young learners think about and approach coding thanks to its drag-and-drop interface. But while Scratch is inherently user-friendly, there are always ways to enhance the experience!
When learning how to make a game on Scratch, knowing the ins and outs of the platform can take a child's projects from basic to brilliant, adding layers of complexity and creativity. Whether it's managing the workspace efficiently, mastering the art of sprite creation, or employing advanced coding techniques, these Scratch tips can make things more efficient and exciting.
1. Pin to Taskbar and Start Menu
If kids are planning on using Scratch a lot (wise move!) why not make it easier to get started? To pin Scratch to your computer's taskbar or Start menu, open the Start menu and search "scratch." Then, right-click on the Scratch app and select "Pin to taskbar."
2. Create a Web Shortcut
Similarly, if you plan on using Scratch in your web browser, you can pin a shortcut to the Scratch website. In Google Chrome, open scratch.mit.edu. Then, press Ctrl/Cmd + D on your keyboard to create a bookmark.
(Another way to save a shortcut in Google Chrome is to select Customize > More Tools > Create Shortcut.)

3. Remix a Project
Remixing in Scratch is opening an already-created project and editing it. You can remix any project on Scratch by clicking the green "Remix" button on a project page. That said—you can't remix your own projects! Instead, go to File > Save as a copy to start a new version of a game you've created.

4. Find Scratch Cat
If you know Scratch, you probably know - or have seen - their mascot, Scratch Cat who is also the default sprite waiting to be used whenever a new project is opened. But, while the Scratch Cat sprite should already be in the sprite panel at the bottom-right section of your Scratch display, there might be a time where you can't see them.
So, if you don't see any Scratch Cat or sprites, you can add Scratch Cat back by clicking on the "Choose a Sprite" menu icon and then scrolling down to click on "Cat" in order to add it to your project.
5. Use If on Edge, Bounce
Not as much a tip as it is a general guideline, but I'm mentioning it because one of the most difficult things for kids to understand when it comes to their Scratch projects is containment and visibility.
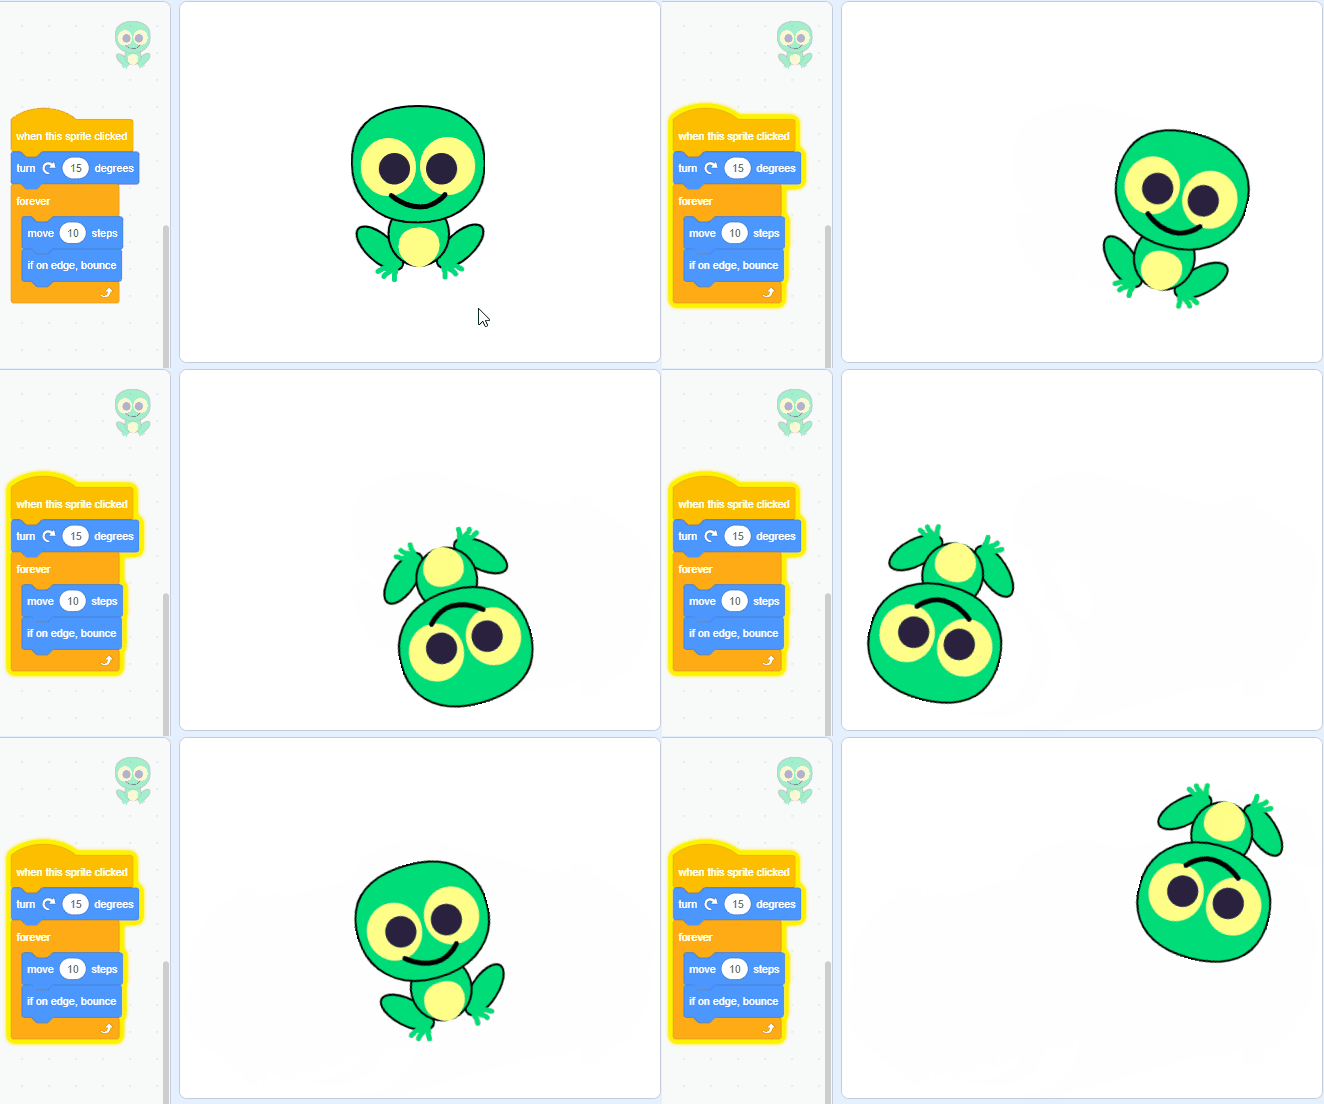
If they're getting frustrated by their sprite that keeps leaving the game screen, they'll need to use the if on edge, bounce block. Specifically, select the Motion panel and scroll down to find the if on edge, bounce block. Then, drag and attach the block.

6. Ungroup Shapes
Sometimes when you select a sprite, you might notice that the fill icon has three circles of different colors (rather than one solid color). When you see this, that means you've selected a Group Shape, which has multiple drawings grouped together.
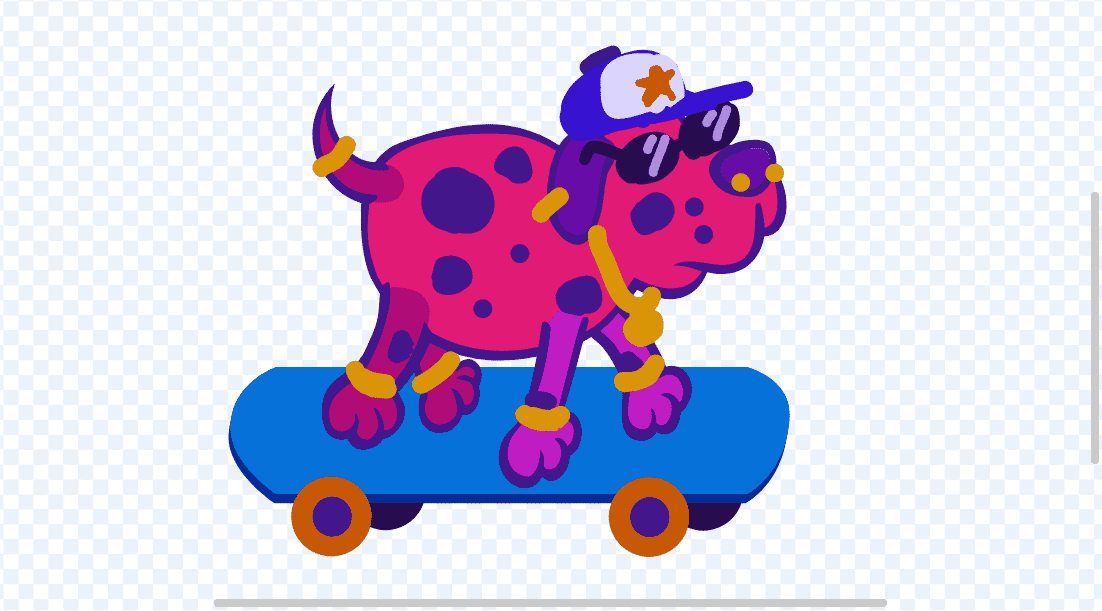
For example, if changing the color of a dog, not only does the dog's body change colors, but the lines around his body did, too. To edit these pieces separately, you must Ungroup them.
7. Resize Your Sprite!
If a sprite looks too big or small when playtesting a game, the size can be updated in the Sprite panel! Select the sprite you want to adjust, and in the "Size" box, type a smaller or larger number (larger number = larger sprite).
8. Make Sprites Unique
Scratch is great because it offers a number of out of the box sprites and elements. With that said, kids might find that their game looks similar to someone else's simply due to the fact that they used the same sprite.
So, a challenge! How unique can they make their sprite? Here are some tips:
- Change all of the sprite's Fill colors. You could also change the Outline colors.
- Use the Brush, Shape, and Line tools to draw on top of your sprite.
- Use the Reshape tool to edit shapes and lines on your sprite.
- Try adding new features to your sprite How about a top hat, sunglasses, or a t-shirt?

9. Change Backdrops to Sprites (and Sprites to Backdrops)
Since sprites and backdrops are both created in Scratch Paint, your child can turn any backdrop drawings into sprites... or vice versa!
- Select the shape you want to copy. (Hold Shift to select multiple shapes.)
- Press Copy, then create a new sprite with Paint.
- Press Paste to copy the shape into the sprite.
![]()
10. Set Ghost Effect
The ghost effect in Scratch is a multi-use option (used in many simple Scratch games) that allows young coders to create fading transition screens, power-ups that fade once they've been acquired, and more. Sometimes - depending on the use - to get everything to work, custom sprites need to be detected by the draggable sprite.
So, if ghost effect is set to 100, it hides the sprite, meaning it won't be detectable. But if you set it to 99, the sprite will be detectable while still appearing invisible.
11. Copy Code onto New Sprites
Last but not least, if new sprites are created or uploaded for a game, existing code will need to be copied onto the new sprites. Click and drag each block of code onto the new sprite and double-check and change any sensing codes that refer to the sprite. Last, hide or delete the old sprite.
That's all for today! For more help, check out the following resources:
