If you've created a Scratch game and have a Scratch account, you'll be able to easily share the project so anyone can play it online!
First, select "File" and then "Save now" to make to make sure all changes to the project have been saved. Next, simply click the orange "Share" button to make your project live to the world.

Pretty simple, right? But how will players know how to play?
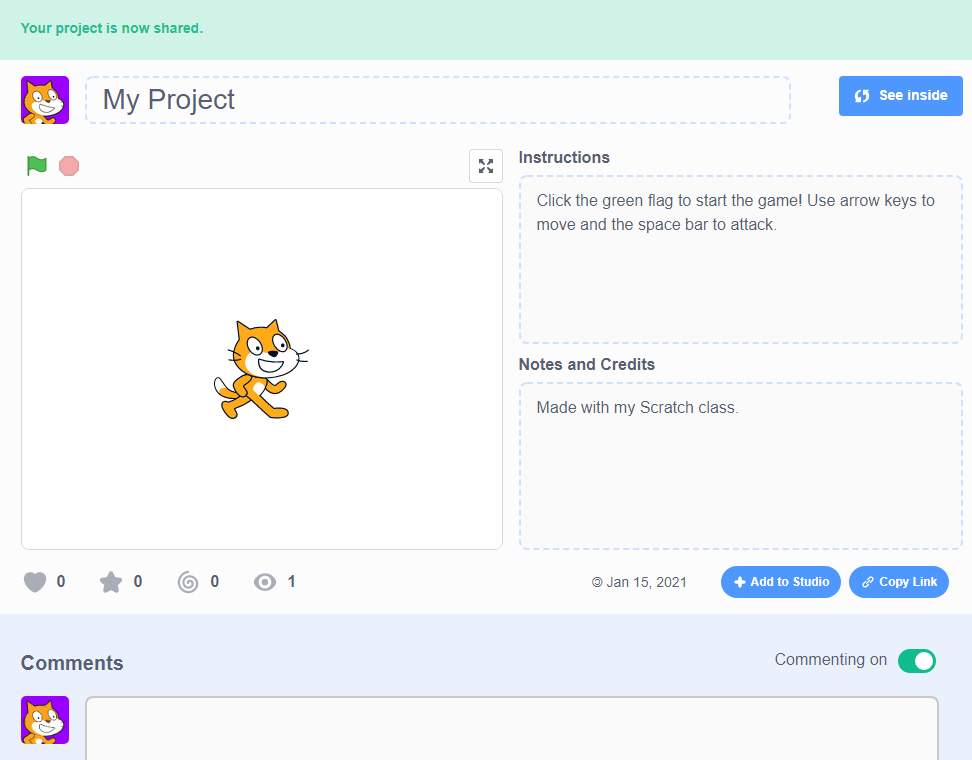
Go to the project page, then fill out the "Instructions" box with any information a player might need to play the game. It should look like this:

How to Share Without an Account
Now, if you don't have a Scratch account, no problem! Here is how your child can share their game with friends by giving a copy of the project's .sb3 file.
First, select "File" and then this time, "Save to your computer" and then name the file.
Once saved, whenever it comes time to share the game with friends and family, they can either play on your computer, or you can give them a copy of the file. (And, be sure they know how to load the game on Scratch's website!)
Why Would You Want to Share a Scratch Game?
Well, aside from being able to share a wonderfully entertaining game creation, "playtesting" is a key step in ensuring the game is everything your child wants it to be.
Goals of the playtesting process include:
Asking friends and family to play the game. Even if the game is already mostly finished, they might have ideas of a few extra things that could be added as the perfect finishing touches.
Decide what edits or add-ons are more important. Once feedback starts coming in, your young creator will need to decide what they think they'll want to incorporate, and what to shelf for the next rendition.
Test the game to make sure it's working. Last the ultimate goal is to produce a working (and popular Scratch game) title, right? So, the playtesting phase will allow kids to be confident in the fact that they reached the level of completion they set off for from the get go.
